Welcome to Xtremelandy
A mobile friendly website
Xtremelandy Since 2004


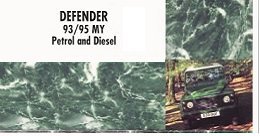
Downloadable Manuals
Download Land Rover Manuals for Free. Equipment Information: Wiring Diagrams / Parts List / Pinouts / ect:
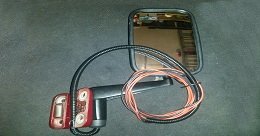
Defender Heated Mirrors
Take a peek at Nick's Defender Heated Mirror Job. A hole page with comprehensive instructions to help you on your why to clear vision.
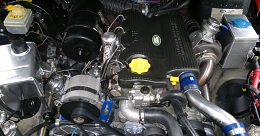
300Tdi VNT Turbo
Allard Turbo Sport VNT Turbo Fitted to our Land Rover 300 Tdi Defender
Rolling Road setup by - Jeremy Fearn - (164 BHP at the wheels and 286lb.ft torque)
Off Road Fun
Off roading Archive Pictures.
Winch Challenges / Novice / Clubman / Extreme and more....
CH4x4 Diff Pans
Challenger 4x4 Heavy Duty Defender Diff Pans.
Prepared and fitted by Nick - Welding by Mark at MJA 4x4
2,000,000
The 2,000,000
90 Defender to roll of the line.


Heated Mirrors
.
300Tdi VNT
.
Manuals
.
CH4x4 Diff Pans
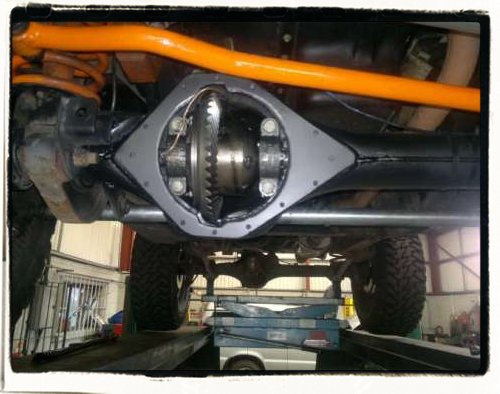
Challenger 4x4 Heavy Duty Diff Pans
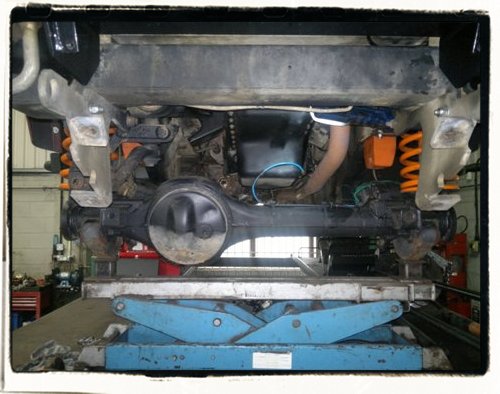
Challenger 4x4 Heavy duty removable diff pans assembled on Nicks front and rear Defender axles.
Made from Solid 6mm steel that makes them virtually unbreakable !
These easy to remove diff pans enable easy checking of the crown wheel bolts, differential and oil state.
Available from Challenger 4x4 (Tel 01252 325930) as a kit or as a complete pre welded axle case, shot blasted, powder coated and
ready for assembly of your running gear.
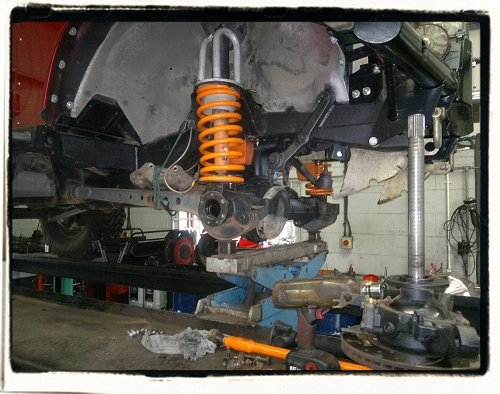
Below are a few pictures of how Nick fitted the diff pans to his 90 Defender.
Mark from MJA 4x4 (01527 873058) can be seen plasma cutting the old pans off and welding the new retaining plates on.
The job was done with the axles in place, but Nick would recommend the removel of the axle for ease of preperation.
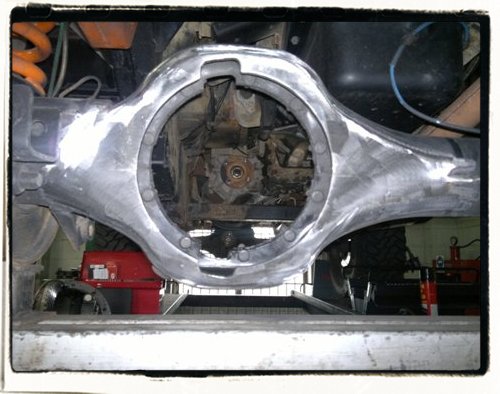
First off we stripped the axles.
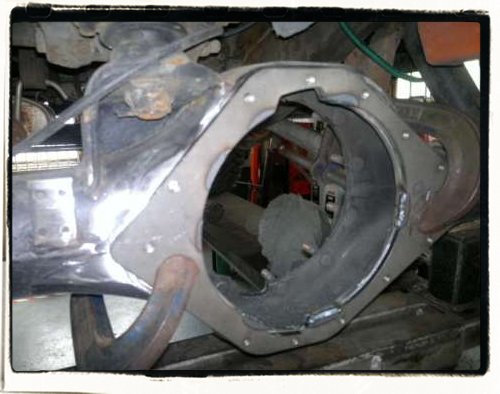
Then it's time to get the plasma cutter on the go and cut off the original diff pan.
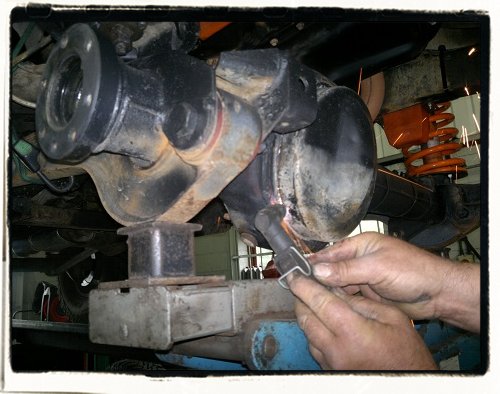
Then prep the surface so it's nice and flat, ready to take the diff pan mounting plate.
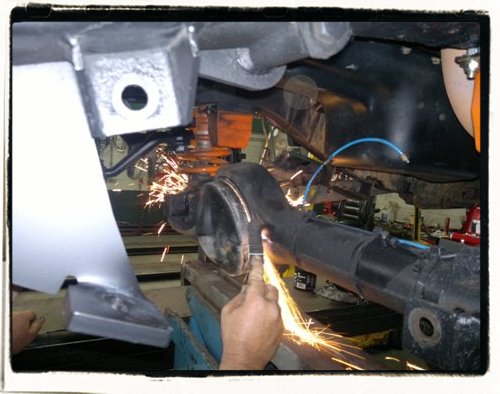
Welding time!

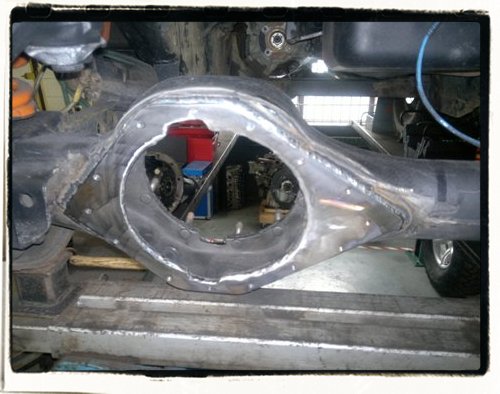
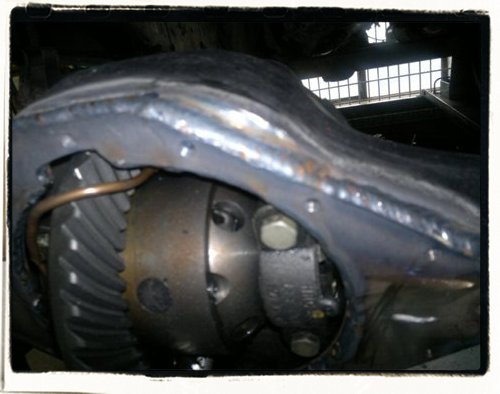
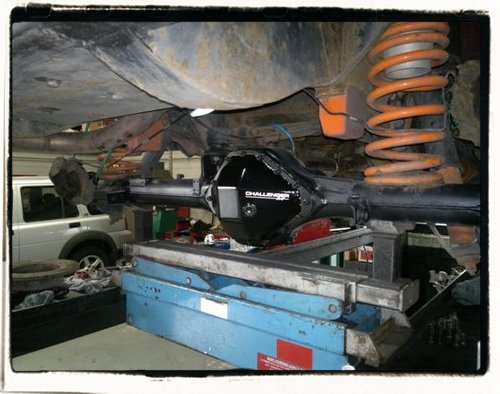
A lick of paint and a little bit of oil resistant sealer and the axles are ready to have there new pans bolted on.
All done and looking good and strong.
This website page is for reference purposes only.