Welcome to Xtremelandy
A mobile friendly website
Xtremelandy Since 2004


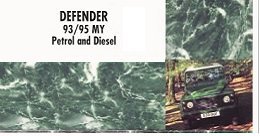
Downloadable Manuals
Download Land Rover Manuals for Free. Equipment Information: Wiring Diagrams / Parts List / Pinouts / ect:
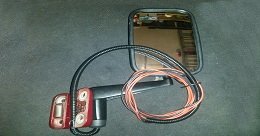
Defender Heated Mirrors
Take a peek at Nick's Defender Heated Mirror Job. A hole page with comprehensive instructions to help you on your why to clear vision.
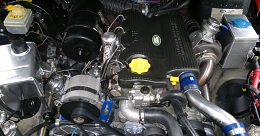
300Tdi VNT Turbo
Allard Turbo Sport VNT Turbo Fitted to our Land Rover 300 Tdi Defender
Rolling Road setup by - Jeremy Fearn - (164 BHP at the wheels and 286lb.ft torque)
Off Road Fun
Off roading Archive Pictures.
Winch Challenges / Novice / Clubman / Extreme and more....
CH4x4 Diff Pans
Challenger 4x4 Heavy Duty Defender Diff Pans.
Prepared and fitted by Nick - Welding by Mark at MJA 4x4
2,000,000
The 2,000,000
90 Defender to roll of the line.


Heated Mirrors
.
300Tdi VNT
.
Manuals
.
Defender Heated Mirrors
Hello and welcome to my Defender 300Tdi Heated Mirror Job Installation.
(Please note this publication is just for reference purposes only)
First off so you don't get confused with the pictures below, the installation was done at the same time as doing the Heated Windscreen Job.
After looking at the workshop manual wiring diagrams for Td5 Defenders, I found they use a 70amp relay for their heated windscreens.
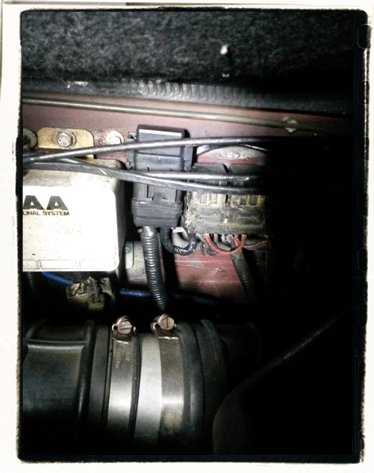
So I came to the conclusion to run an 8.50mm² Live cable from my Batteries to a 50amp Maxi Fuse that I mounted to the Bulk head within
the engine bay (see picture below)
This is when I thought that not only having a heated windscreen is a nice touch, but what would be better than having heated mirrors too.
This is when I called Mudstuff.co.uk and just so happens they do a complete heated mirror kit for Defenders.
I didn't need the whole kit so just bought the heated mirror elements that stick very nicely to the rear of the Defender mirrors.
Next thing I wanted to do was give my installation a main controlled point with easy access.
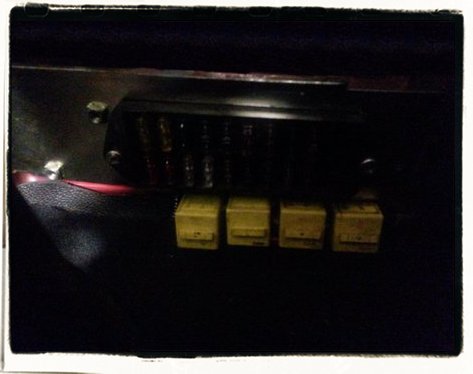
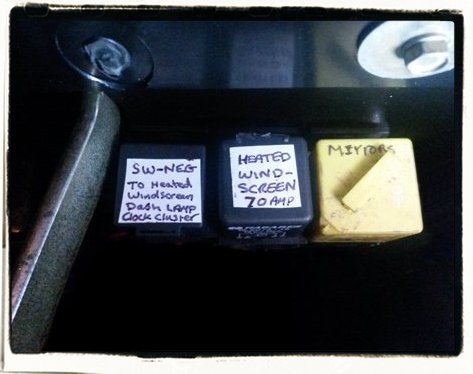
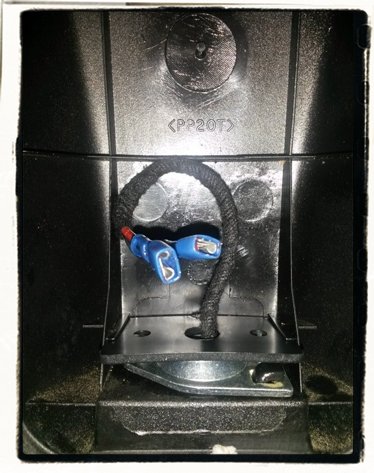
My main controlled point was via a 40amp relay that was put in place at the side of the excising fuse board relays (see picture below)
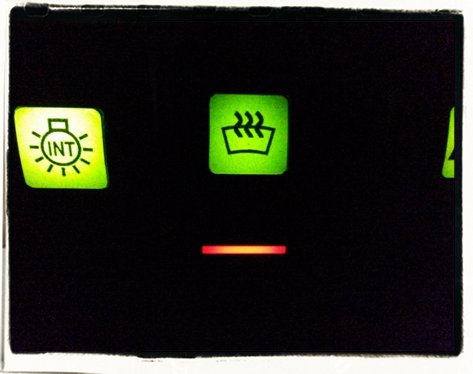
The next thing to do was put in place the relays to control the heated windscreen/mirrors and a wired switched negative output relay
to put the heated windscreen light on in the clock cluster! I found the plugs that plug into the rear of the clocks that control the
warning lamps in my loom we're without connectors to the heated windscreen warning lamp. As I didn't have any of these types of connections
to put into place in the warning lamp plugs, I just soldered onto the lamp bulb a single thin walled wire and gave it a negative feed from the relay.
Note do not put a live anywhere near your warning lamp bulb track as it will just frazzle up.
I then fitted another Carling on/off switch into my Mud Console (Switches are available from Mudstuff.co.uk)
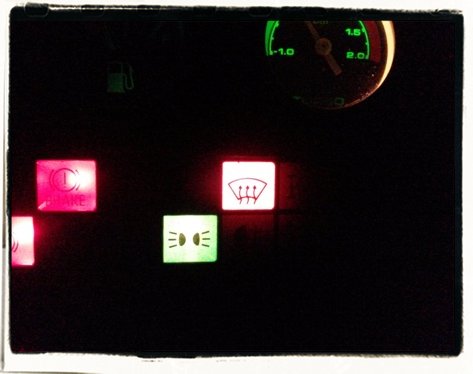
After connecting my wires up, it was time to see how the switch and warning lamps looked (see pictures below)
Next step was to install and wire up the two relays to control the heated windscreen and the mirrors.
I used a 70amp relay for the windscreen and a 40amp relay for the mirrors. I did think about adding in a timed relay but as its only me that
drives my Defender I think the noticeable orange glow off the heated screen warning lamp will remind me to turn it off (I might entertain
the timed relay in the future and I will add to this page when done) (See pictures below for relay mounting behind clocks)
After I got all my wires to the points I wanted them it was time to start dismantling and modifying the mirrors, mirror cases and their mounting arms.
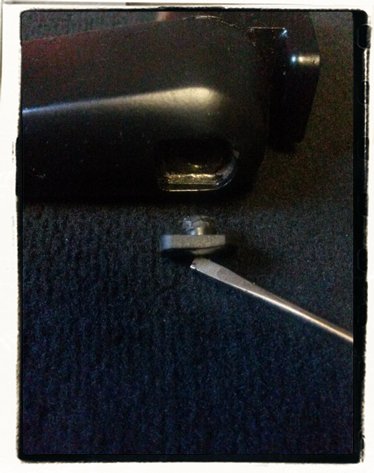
Step 1. I made sure my mirrors we're warm and I removed the mirror glass retaining seal. Make a note on it of how it was fitted as it'll go back on so
much easier and warming it up is a key factor.
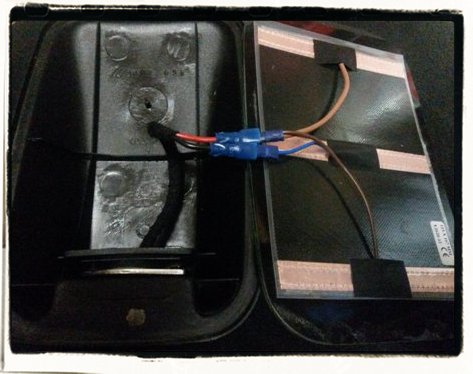
Step 2. Sticking my Mudstuff Defender glasscloth technology heated elements to the back of my mirrors. Making sure I have created a grease free surface first
(See picture below)

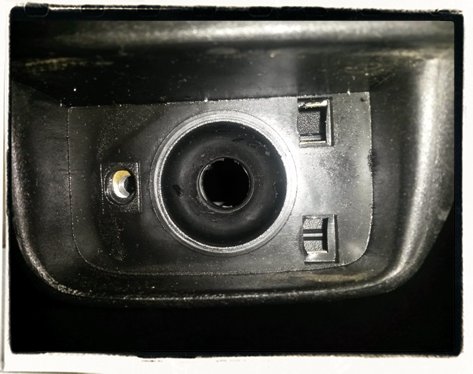
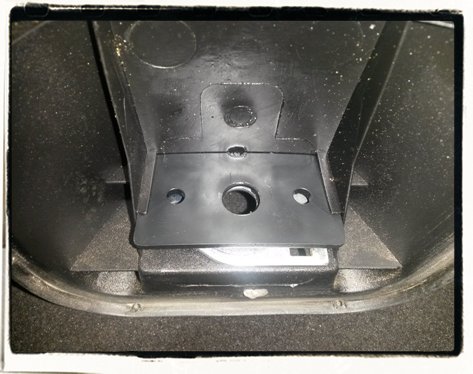
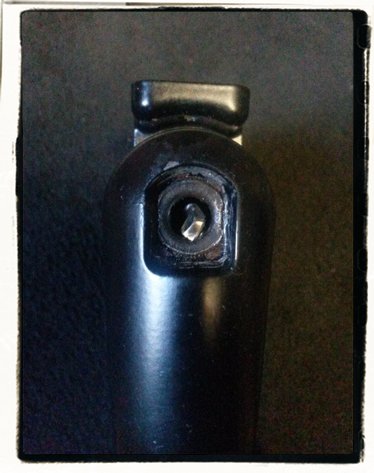
Step 3. I next drilled a hole through the bottom of my mirror casings and through the inside plastic retaining plate,
this plate pull slides out (See pictures below)
Step 4. I drilled an 8mm hole through the ball end of the arm (See picture below)
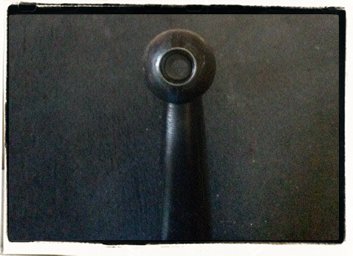
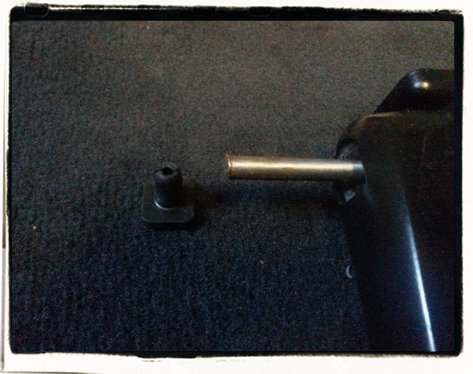
Step 5. Removed the plastic dust cap off bottom of arm (See picture below)
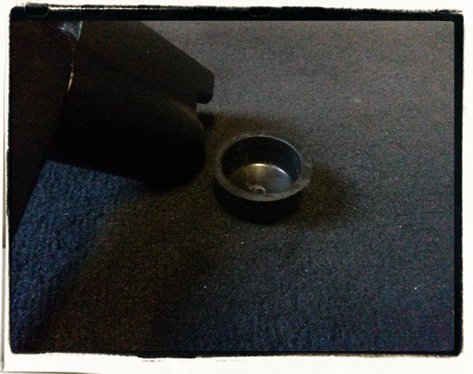
Step 6. Knock out top dust cap from arm with a 1/4" punch.
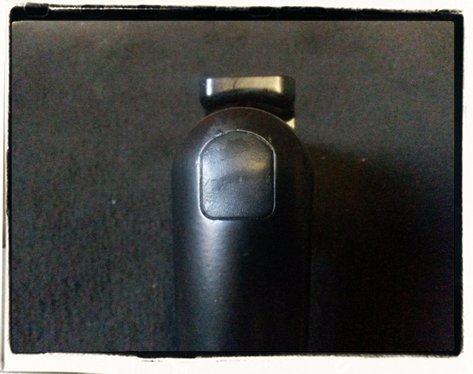
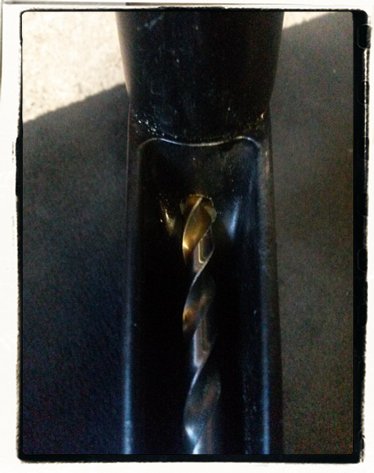
Step 7. I drilled an 8mm hole through the underside of the arm to where the top dust cap is fitted
(Note, you will need a long shank drill for this to keep a very shallow angle. The hole needs to be kept as close to the top as possible
(See pictures below)
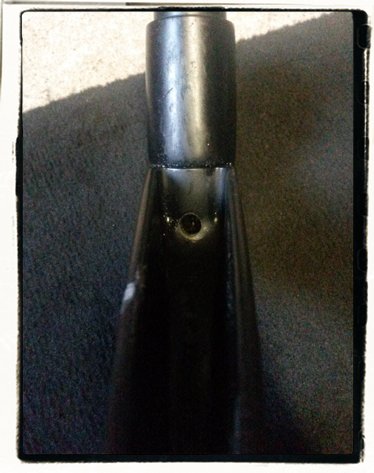
Step 8. Trimmed down top dust cap otherwise it will foul the wires coming through hole (See picture below)
Step 9. I fed and traced the cables through the mirrors and arms and re assembled.
I drilled an 11mm hole through the bottom dust cap and fed some 11mm O/D - 7mm I/D convoluted tube through and up into mirror arm and sealed accordingly.
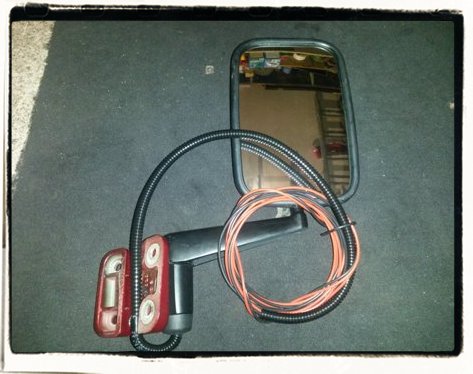
Now my mirrors are ready for fitting to my Defender. (See pictures below)
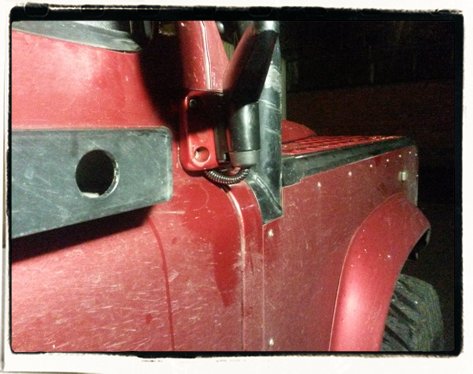
'The underneath of the mirror arm above was sealed appropriately to protect and hide the wires'
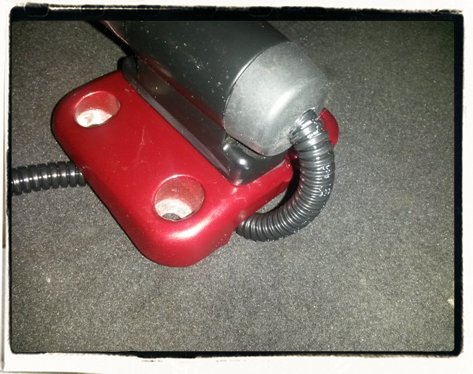
'In the picture above I secured the convoluted tube to the Hinge back via a plastic Black Nylon 'P' Clip secured via the excising mirror arm screw'
Ready for Fitting
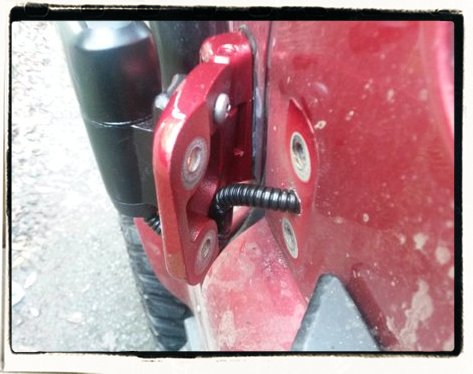
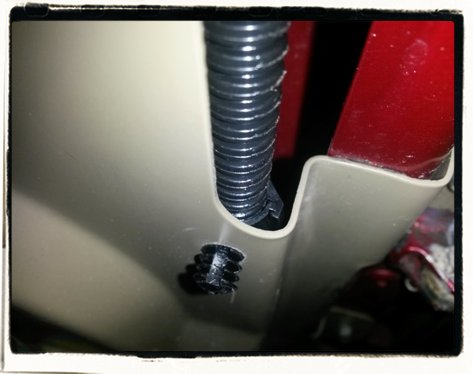
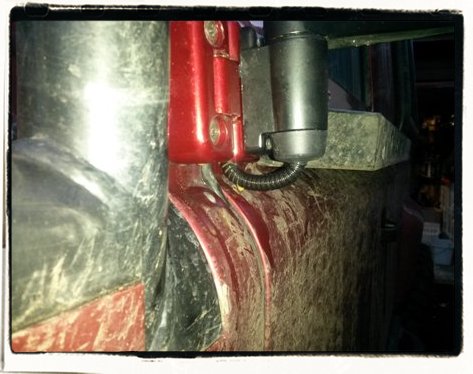
Step 10. I drilled an 11mm hole through the door in between the two door hinge bolt holes and fed my wires and convoluted tube through the door (See picture below)
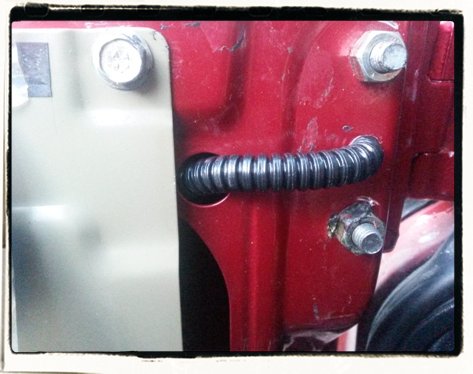
Step 11. I then routed my cables through the doors and made sure the convoluted tube was secured to stop any fouling on my window operation.
I did this using convoluted tube harness clips. These have a raised inside rib that stops the convoluted tube from moving. (See pictures below)
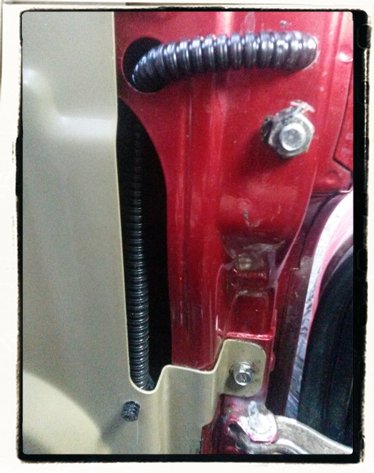
Step 12. Making sure the convoluted tube is sealed. I used Dum Dum sealer the same as Land Rover use on the door plastic membrane. (See picture below)
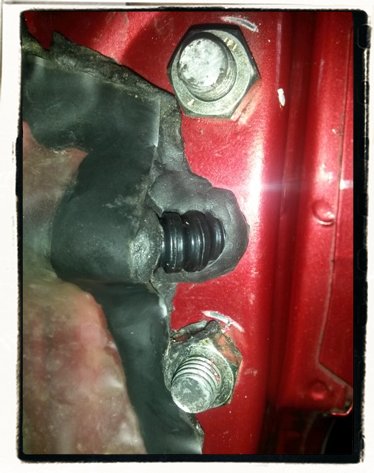
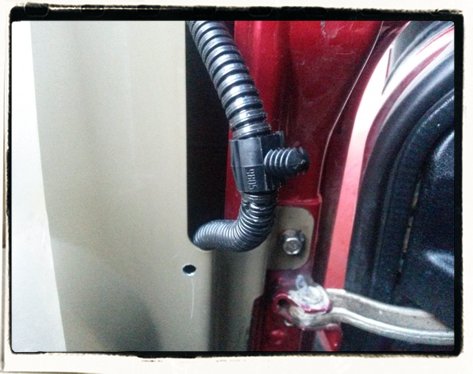
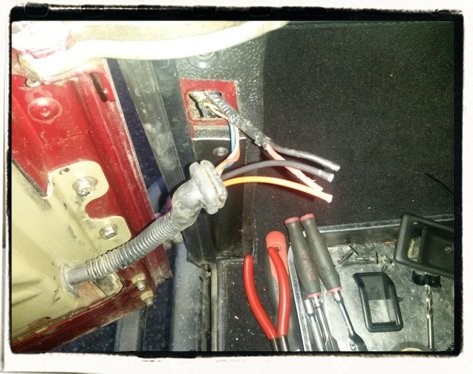
Step 13. I routed my cables from the doors through the rubber conduit to the bulk head where my electric windows and central door locking plugs are.
I made the connections via a two way waterproof connector. "Sorry but missed that photo! Must have been getting excited" (See picture below)
Job Done
Defender Heated Mirrors From:
MUD UK Land Rover Outfitters:
www.mudstuff.co.uk
Some Equipment Used:
Cable types and sizes:
PVC Auto cable 120/0.30mm, 8.50mm², 60amp. Positive feed to Bulkhead Maxi Fuse.
Standard cable 44/0.30mm, 3mm², 27.5amp. Positive and Negative Feed and Relay Switching cables.
Standard cable 28/0.30mm, 2mm², 17.5amp. Auxiliary cables.
Thin wall cable 32/0.20mm, 1mm², 16.5amp. Switching Cables.
Relays:
1x 70amp relay with 2x 9mm and 2x6.3mm blade contacts fitted in a RSI9 socket.
2x 40amp relays, standard Defender fitment part no YWB10027L fitted into RSI socket.
1x 30amp relay. Standard relay but wired to switch a negative.
Best Regards
Mr Nick.
This website page is for reference purposes only.